Thursday, February 24, 2011

Craftboston Preview

Hi everyone,

I just finished the last of the nine piece I have created specifically for Craftboston, March 25-27

I thought I would show you all some photos of the unmounted pieces just before I mounted and framed them. I will be showing these and many more photos as a slide show running on my laptop during the show.

If you would like to see the pieces in-full, join my facebook page here: http://www.facebook.com/papercutsbyjoe I've posted photos of all nine pieces in their entirety.


Tuesday, February 8, 2011

Blade tips: How to cut thin lines

This is one of the most challenging aspects of papercutting, and I have spent many years trying to get this right. Unfortunately, I've had to ruin several pieces to figure out how NOT to cut thin lines, so hopefully I can save you some of the heart break I've experienced.

Before we start, however, I need to break it to you that this is not something I can guarantee you will be able to do right away having read this. You need to know your paper, it's physical limits, how it feels when you cut, how it stretches and bends when it's weak, etc. This is not a beginner's technique. I recommend experimenting with all of these techniques and using them in various combination to find which one works in a given situation. Use the following patterns to cut along with the tips (click on image, then print):


Tip #1: Use thick paper (for beginners)

If you are just starting out with papercutting and you want to try a piece with thin lines, use thicker paper. It will better withstand the stress you will put on it. Ignore this tip if you already have a favorite paper, or have enough experience to be working with thinner papers. I use exclusively Hygloss silhouette paper. I have a special post all about the paper I use here: http://papercutsbyjoe.blogspot.com/2010/02/papercutting-tips-guide-to-paper.html

For illustration purposes, I'm showing this technique on normal printer paper with the patterns above printed directly on the white paper.

Tip #2: Cut lines in order, do not skip!

The first cut is easy, it's like any other cut. It's the second one and all the ones after that gets you. Always cut the next line over, do not skip cuts. It may seem intimidating to cut so closely to your last cut. If you skip a cut, when you return, you will be cutting on a weakened piece of paper and the likelyhood of tearing increases. I know that makes no sense in writing, so here's some photos using the first image.

First Cut removed, lines indicate where next line should be cut


Spreading the paper to show second cut


The rest of the piece is then removed.


Tip #3: Follow with your thumb.

As you cut, you should immediately press your thumb onto the area just cut. This supports the paper preventing tearing, breaking, and stretching. Here's a video:

Tip #4: Leave pieces in for support

Sometimes when cutting a complicated piece like the gate design, you will find that pieces wrap around other pieces and going in sequential order is impossible. In these cases I recommend cutting the piece and either leaving the piece in, or leaving a small portion of the piece uncut so that either way the piece remains in the hole. These left-in pieces help to support the overall structure of your piece while you are cutting nearby delicate areas. The photos below hopefully show what I mean better than I just explained:
Piece cut, but left inside hole


Fragile area cut and removed


First piece removed after fragile area is cut

This tip is great for a long series of parallel cuts. Cut all the vertical cuts in order leaving the horizontal end-cuts intact. Then once all the vertical cuts are finished, go back and cut the ends of the pieces allowing removal.

Tip #5: Built-in Support Structures
Support structures allow for both fragile cuts as well as keeping all your loose parts in place until mounting. I will go through a design and cut in all the support structures BEFORE I begin so I don't forget later.
Piece held to light to show pre-cut supports in designs


Cuts removed around delicate areas with support structures holding everything in place and also providing support to keep branch from breaking off during cutting.

Once your piece is mounted, you can cut away the supports.

All together now!

Back to the first design. As I said earlier, no one tip is used when cutting thin lines; I often use all of these in one small area of a piece. As you get more experienced, you will be able to instinctively know which combination will result in the best results, so practice practice practice! Here are some examples of the combination being used in the designs provided here and some of my other pieces

(Back of paper to show cuts) Support structure and pieces left partially cut to support several parallel cuts

A custom design with text. Hand-drawn supports allow for extremely delicate cuts before mounting.

Support structure keeping everything in place


Lots of thin lines here!

Same principals are used for extremely small cuts as thin lines. Planning and forethought are the most important principals when doing extremely difficult cuts.

I really hope this helps, and I'll be reading the comments to answer any questions that come up!

Tuesday, January 18, 2011

Cutting in action

I was about to cut a kissing couple on a bike piece when I realized I should give something a try. have been wanting to do a timelapse video of myself cutting, so I setup my camera and took a long video.

Fortunately, my PC has some built-in video editing software so I was able to fast-forward through much of it to show the entire process in just under two minutes. SO, without further ado, here's the video. I hope you enjoy:

Craftboston


I was recently accepted into the 2011 Craftboston, the premiere exhibition and sale of contemporary craft in New England!
I've been busily preparing for the show designing and creating a brand new set of designs that will be revealed at the show. These pieces are hands-down my most challenging pieces and I'm really excited with the designs. Currently, there are 9 completed designs and three have been cut. I'm working on the fourth. There are three branch designs, three architecture designs, and three Maine-inspired designs.


I wanted to share some in-progress shots with you all as a thank you for following my journey. I'm keeping the full images of the designs as a facebook exclusive, so to see the entire finished piece, head over to my facebook page here: http://www.facebook.com/papercutsbyjoe

I'm really proud of these pieces, and my goal is to completely blow the minds of the visitors to my booth. This is my first time at this show, and I'll be surrounded by some of the greatest craftsmen in the country, so I'm bringing my "A" game.

Other Branch designs currently available in my Etsy shop

If you are interested in coming to the show, please do! Below is the information for the show:

CRAFTBOSTON • Spring
Featuring 200 Contemporary Craft Artists
World Trade Center, Boston
March 25-27, 2011

Monday, January 17, 2011

Critters!


Nothing like a trip to the museum to get inspired. I'm always worried that I'll never have another good idea. I think we all fear that sometimes. Jen and I recently took the trek across Boston by train to the quaint college town of Cambridge, home of a little university called Harvard. Heard of it?

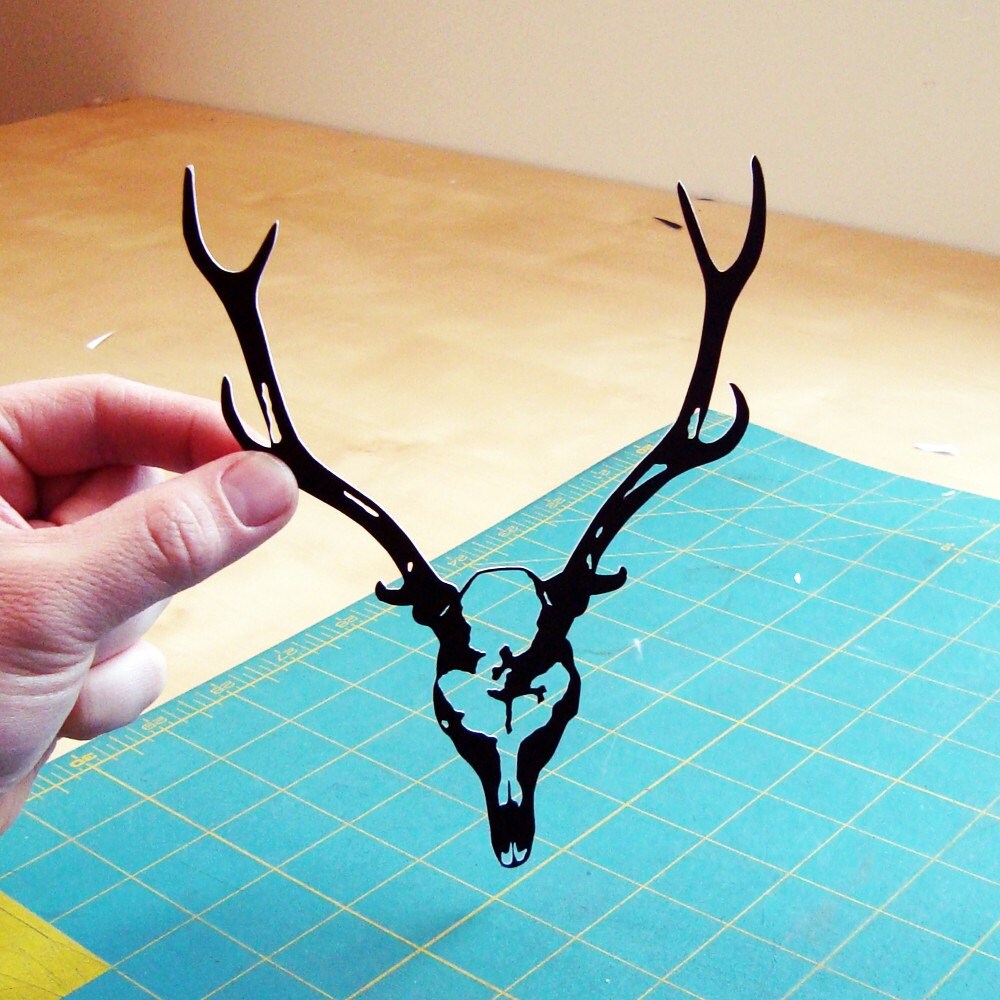
My beetle design, which is based on a photo I took of a massive beetle we found in a park in Iowa, was quite successful, so I thought it would be fun to do some more bug and critter-based designs. I wanted to have a bit more masculine touch to my newer designs to balance all the cute stuff. That and I really wanted to hang some bugs on my wall until they sold.

Well, next time you visit, skip the Yah'd, and head straight to the Harvard Peabody Museum. Okay, fine, you need to walk across the Yard to get there, but don't pay attention to it, it gets enough press.
Since 1866 this museum has been one of the greatest institution for natural history and archaeology in the WORLD. The archaeological collections are close to my heart, and Jen and I got to take an incredible behind-the-scene tour of their storage facility when we took an archaeological collections course at Boston University; however, this trip was for the bugs. And bird, and snakes, and fish, and beasts.


We left full of ideas for new designs, and I quickly got to work creating some Natural History inspired pieces. I still have about 12 more that are designed and need to be cut, but things are getting busy so they may be a while before they are released. In the mean time, enjoy the first batch!

Here's the rest of them: http://www.etsy.com/shop/papercutsbyjoe?section_id=7401476

Monday, August 9, 2010

Gearing up for Art in the Park


One week away!

Please join me if you can this Saturday, the 14th in South Portland, ME's Mill Creek Park for the 31st annual Art in the Park!

I'll be showing 75 pieces, about 35 of which are framed, the others are unframed, and very inexpensive. Figured I'd bring a bunch of pieces people can easily carry away, and a couple really WOW pieces for those with deeper pockets.

This is one of my most successful shows, and I've got high goals this year (bringing over $6k worth of merchandise).

Here's the tent plan so you know what to look for when you get there. Had a blast making this, and it really helps me relax to know I've essentially got a map once I get there.

Saturday, June 12, 2010

Art Show Tips

I was just accepted into the Boston Arts Festival 2010 for the second year in a row (yay me!) and I really should be working on stuff for the Acquire show, but I remembered I wanted to post something here, and I'm a huge procrastinator. Anyway, here's some tips from a guy who does his fair share of art shows and has come home with his Boston rent several times.

1. Don't stand in your tent (with one exception below), sitting is much less intimidating to a buyer who may be timid about entering your tent. I personally get intimidated when feeling like the artist is going to pounce on me when I enter their tent. And don't stand outside your tent in a chair like you're a director or a gate attendant. Seriously, don't.

2. Do your art while you're sitting there. Don't care what it is. I was cutting paper in my notebook just to look busy. Again, it makes you look distracted and people will go into your tent thinking they won't be watched. Plus they always love to watch you do your art and I've looked up once while being a bit too intent on what I was doing and literally had five people watching me just as intently. Actually jumped and everyone thought it was funny. ha ha. ALWAYS look up to say hi with a smile when they come in and immediately look away and let them do their thing. If they stay for more than 10 seconds, then say something like "everything is hand-cut from a single sheet of black paper" (for example). If they don't respond, go back to work, if they do respond, then become mr/mrs personality and have a nice chat, they're now officially a customer.

3. When talking to someone, stay seated, it makes them feel comfortable. Only stand to go to a piece or hand them something. Again, you want your potential customers to not feel intimidated or pressured. Give them the upper hand. When they indicate they are planning to buy, then stand up, it give them the idea that you are now engaged fully, confident, and ready for business.

4. Here's my best tip- If nobody is going into your tent, become a customer. Jen and I are always together at these shows and if nobody is in the tent, we get up and start walking around our tent like customers viewing pieces, talking about which one is our favorite, and deciding if we should arrange pieces in the tent. People will see you and think you're a browser and automatically wonder what you are looking at and go in themselves. It works EVERY time. Ever notice how the more people there are in your tent, the more people want to be in your tent? The biggest turnoff from a browser is an empty tent. Once you get someone in your tent, casually go back to your chair, say hi, and go back to work ignoring them and letting they enjoy the art.


Couple bonus ones that I just remembered- bring flowers and decorate your tent. Makes you look so freaking prepared you actually thought to bring plants. Insta-Pro. I'll add more as we remember them.

Hopefully this is helpful!

Monday, June 7, 2010

ACQUIRE show opening invite


Hi everyone!

My Acquire show in Boston will be opening next Thursday, the 17th with an opening night party from 6-9. You are ALL invited, and I hope a few of you can make it! If not, the show stays up through August, but I can't guarantee everything won't sell opening night:)

Here's the flier with all the info:

Saturday, May 1, 2010

Major Announcement


Hi everyone,

So the big announcement here is that I will no longer be offering custom silhouettes via my website, etsy, and any other venue. I will be finishing all requests received recently, and will be making arrangements with several clients with whom I have long-term multi-piece orders and projects.

As this business has grown, and grown in ways that has surprised no one more than myself, I have had opportunities to show my non-custom work at galleries and museums across the country. The 2010 list includes Terminal 22, High Wire Arts, and future shows at ACQUIRE Boutique, Westmoreland Museum of American Art, and The Wilson Gallery so far.

The custom silhouettes have become incredibly popular, and the attention given to my work from sites and folk from around the world has been amazing. Unfortunately, the popularity of these has resulted in absolutely no time to create any new non-custom art. I would love to continue to push myself and the envelope further exploring new ideas for this ever more popular medium, and to cut some of the exciting design ideas I’ve had floating around in my head.

I have removed all custom listings from my etsy store, and will create new listings for those current customers who have put in requests for designs.

With this increase in “free time” I will be unveiling a new and exciting body of work, and I expect my etsy shop to grow dramatically in the coming weeks. This is by no means an end, but a beginning. Most importantly, I am excited about my art in a way that I have not felt for months, and I hope this shows in my new work. Some of these new pieces as well as many others already in my shop will be around the price of my custom silhouettes ($55), and I encourage anyone interested in paper anniversary gifts to consider my entire body of work, every single piece of which is made of paper.

Again, I am truly excited to make this announcement. I hope these new pieces will help bring both my artwork and my art career to places I believe I’m ready to go.

Thank you all for your understanding and support, and for everyone who has purchased a custom silhouette from me, I cannot express the gratitude I have for your interest and support, and I hope you continue to follow my journey, experiments, adventure-- whatever you want to call it. Regardless it will be awesome!

~Joe Bagley (Joe)


Wednesday, March 24, 2010

Hanging with the cool kids

Working from home can get lonely, so against all odds I've become a frequent user of Twitter, facebook, and online forums.

(By the way, you can be come a "fan" of my art on Facebook here, or follow me on Twitter here)

I've meet some truly incredible people along the way and it seems like in the past week they have accomplished some amazing things, so I thought I'd share with you all some of my friend's do wellings:

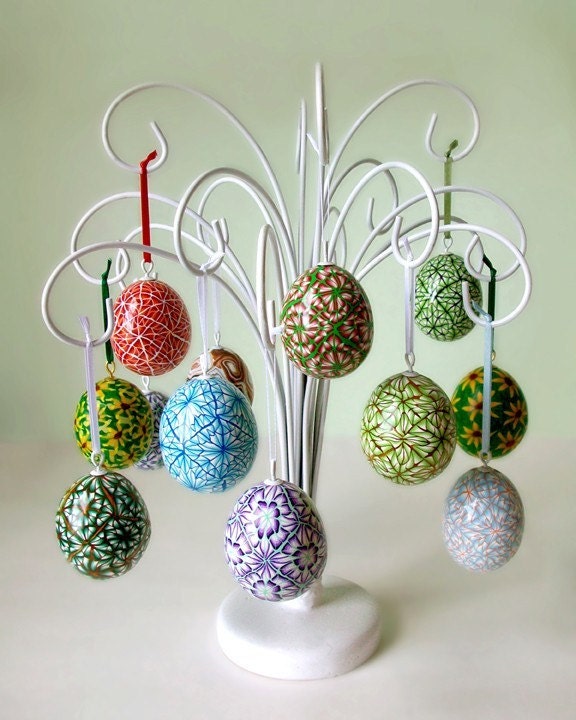
Liz over at Madeinlowell, creator of awesomeness, will be on the Martha Stewart show TODAY showing us all how to create her awesome eggs, which I am proud to say I have one hanging in my living room right now:)


Friend and fellow papercutter in the UK, mrYen, was commissioned to create some original paper art for a short stop-motion film by the same folk who created the awesome Amazon Kindle Commercials:


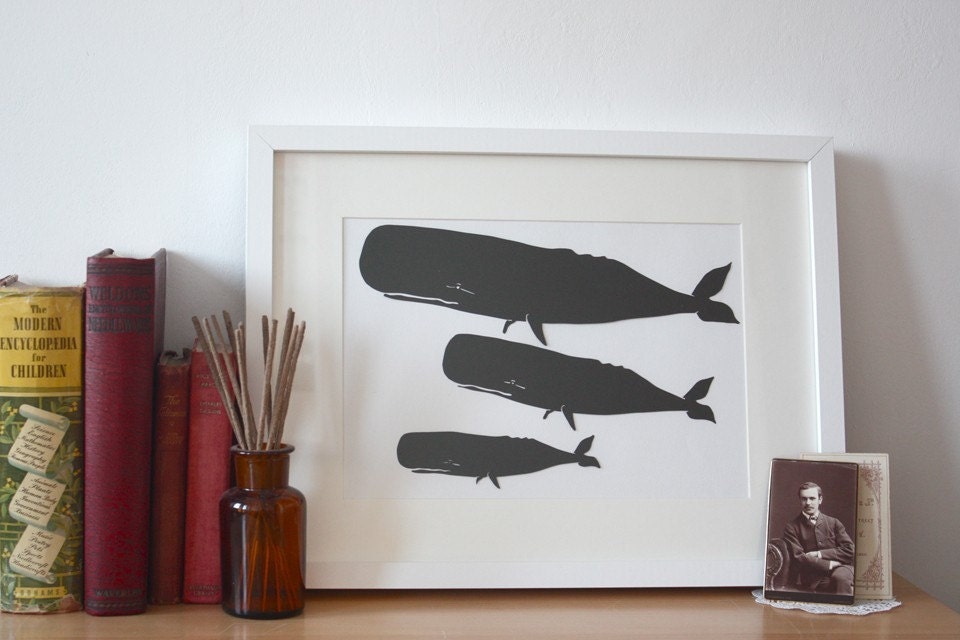
You can purchase the whales he created for the movie on his etsy site here:

And finally UK Illustrator Extraordinaire Natasha Newton was asked to have her original paintings adorn the covers of the latest edition of Jorge Bucay's books. You can purchase prints of the piece in her awesome etsy shop here:

On top of all that two of my teammates on the Full Time Etsy Crafters were approached by Real Simple Magazine and Oprah Magazine, but since that isn't a done deal yet, I don't want to spoil it for them, but still awesome!

I'm so happy for all of them!