This is one of the most challenging aspects of papercutting, and I have spent many years trying to get this right. Unfortunately, I've had to ruin several pieces to figure out how NOT to cut thin lines, so hopefully I can save you some of the heart break I've experienced.
Before we start, however, I need to break it to you that this is not something I can guarantee you will be able to do right away having read this. You need to know your paper, it's physical limits, how it feels when you cut, how it stretches and bends when it's weak, etc. This is not a beginner's technique. I recommend experimenting with all of these techniques and using them in various combination to find which one works in a given situation. Use the following patterns to cut along with the tips (click on image, then print):


 Tip #1: Use thick paper (for beginners)
If you are just starting out with papercutting and you want to try a piece with thin lines, use thicker paper. It will better withstand the stress you will put on it. Ignore this tip if you already have a favorite paper, or have enough experience to be working with thinner papers. I use exclusively Hygloss silhouette paper. I have a special post all about the paper I use here: http://papercutsbyjoe.blogspot.com/2010/02/papercutting-tips-guide-to-paper.html
For illustration purposes, I'm showing this technique on normal printer paper with the patterns above printed directly on the white paper.
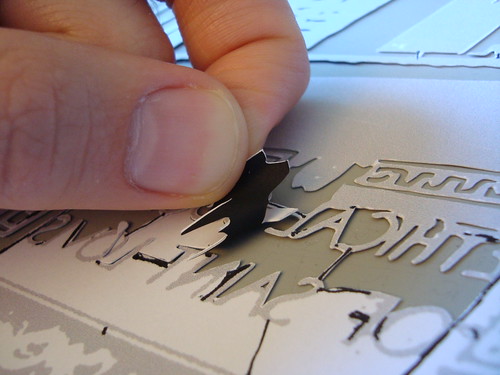
Tip #2: Cut lines in order, do not skip!The first cut is easy, it's like any other cut. It's the second one and all the ones after that gets you. Always cut the next line over, do not skip cuts. It may seem intimidating to cut so closely to your last cut. If you skip a cut, when you return, you will be cutting on a weakened piece of paper and the likelyhood of tearing increases. I know that makes no sense in writing, so here's some photos using the first image.

First Cut removed, lines indicate where next line should be cut

Spreading the paper to show second cut

The rest of the piece is then removed.
As you cut, you should immediately press your thumb onto the area just cut. This supports the paper preventing tearing, breaking, and stretching. Here's a video:
Tip #4: Leave pieces in for supportSometimes when cutting a complicated piece like the gate design, you will find that pieces wrap around other pieces and going in sequential order is impossible. In these cases I recommend cutting the piece and either leaving the piece in, or leaving a small portion of the piece uncut so that either way the piece remains in the hole. These left-in pieces help to support the overall structure of your piece while you are cutting nearby delicate areas. The photos below hopefully show what I mean better than I just explained:

Piece cut, but left inside hole

Fragile area cut and removed

First piece removed after fragile area is cut
This tip is great for a long series of parallel cuts. Cut all the vertical cuts in order leaving the horizontal end-cuts intact. Then once all the vertical cuts are finished, go back and cut the ends of the pieces allowing removal.
Support structures allow for both fragile cuts as well as keeping all your loose parts in place until mounting. I will go through a design and cut in all the support structures BEFORE I begin so I don't forget later.

Piece held to light to show pre-cut supports in designs

Cuts removed around delicate areas with support structures holding everything in place and also providing support to keep branch from breaking off during cutting.
Once your piece is mounted, you can cut away the supports.
All together now!Back to the first design. As I said earlier, no one tip is used when cutting thin lines; I often use all of these in one small area of a piece. As you get more experienced, you will be able to instinctively know which combination will result in the best results, so practice practice practice! Here are some examples of the combination being used in the designs provided here and some of my other pieces

(Back of paper to show cuts) Support structure and pieces left partially cut to support several parallel cuts
A custom design with text. Hand-drawn supports allow for extremely delicate cuts before mounting.

Support structure keeping everything in place

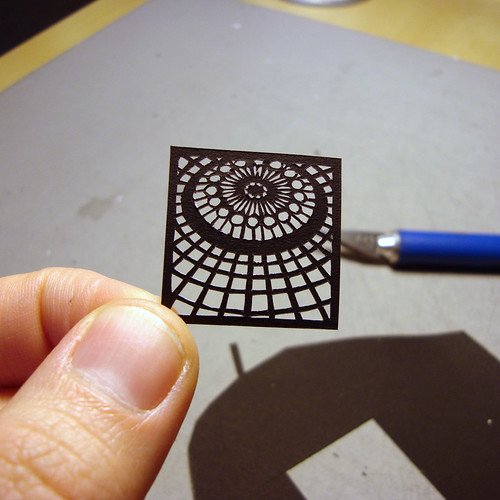
Lots of thin lines here!
Same principals are used for extremely small cuts as thin lines. Planning and forethought are the most important principals when doing extremely difficult cuts.
I really hope this helps, and I'll be reading the comments to answer any questions that come up!


