
Well, really it's just adhesive, since I pretty much only use one.
It's called Studio Tac or Letra Tac. Both are made by Letraset. I'm not sure exactly what's happening, but it appears the Studio Tac (blue package) is being phased into Letra Tac (yellow package). You can order Studio Tac from Blick online, but if you go to the store, they sell the Letra Tac.


No matter, it's all the same stuff.
Essentiall, this adhesive is a sheet of thousands of very small white silicon adhesive dots. They are packaged in sheets, with a a wax paper cover. You place your artwork on the dots, then rub the back, which sticks the dots to the back of the design, then you peel off the design and stick it to your background. Pretty simple, and it has great coverage.
They stick very well. I have several mess-up papercuts that I simply slapped on my studio walls, and they are still up there after months of dramatic temperature changes and no glass covering.
A few very very helpful tips.
1. It sticks pretty good, so be very careful removing your piece from the wax paper.
2. It's technically repositionable, which is great for when you stick it down not quite in the perfect spot, but it is very good at long-term adhesive.
3. Because it's silicon, it has a bit of a rubbery ness that allows your piece to expand and contract with weather and not become detached. I've had pieces adhered for years without any sign of detachment.
4. Personally, I would avoid the "permanent" kind since the regular kind is quite permanent and still allows repositioning.
5. Place your piece upside down on the sheet of wax paper that isn't covered in dots, then press the sheet with dots down onto the back of the piece. It stops the piece from moving and getting wrinkles, trust me.
6. Rub the back of the piece (the side with the dots) not the front of the piece. This makes the dots stick more thoroughly
7. When mounting your piece, lay your piece face down (sticky dots up) on a grided surface, like a quilters mat, and use the grid to place the piece in the right spot, then take your pre-cut background, and line it up with the grid, and slowly fold it over your papercut. This I have found to be the best way to mount your work without damaging, folding, creasing, or otherwise messing up your papercut.
8. This adhesive works best for white backgrounds as tiny bits of the dots will overhang your papercut. If you are adhering it to a white background, these will become completely invisible, but if you are mounting to a colored background, they may be very noticeable and I recommend a different adhesive like double sided tape.
9. If any stray dots get on your work, you can remove them with a very clean soft eraser and they come right off.
10. #9 is especially helpful if you accidently put the wrong side down and cover your presentation side with thousands of tiny sticky white dots.
Photos of me using the Studio Tac:
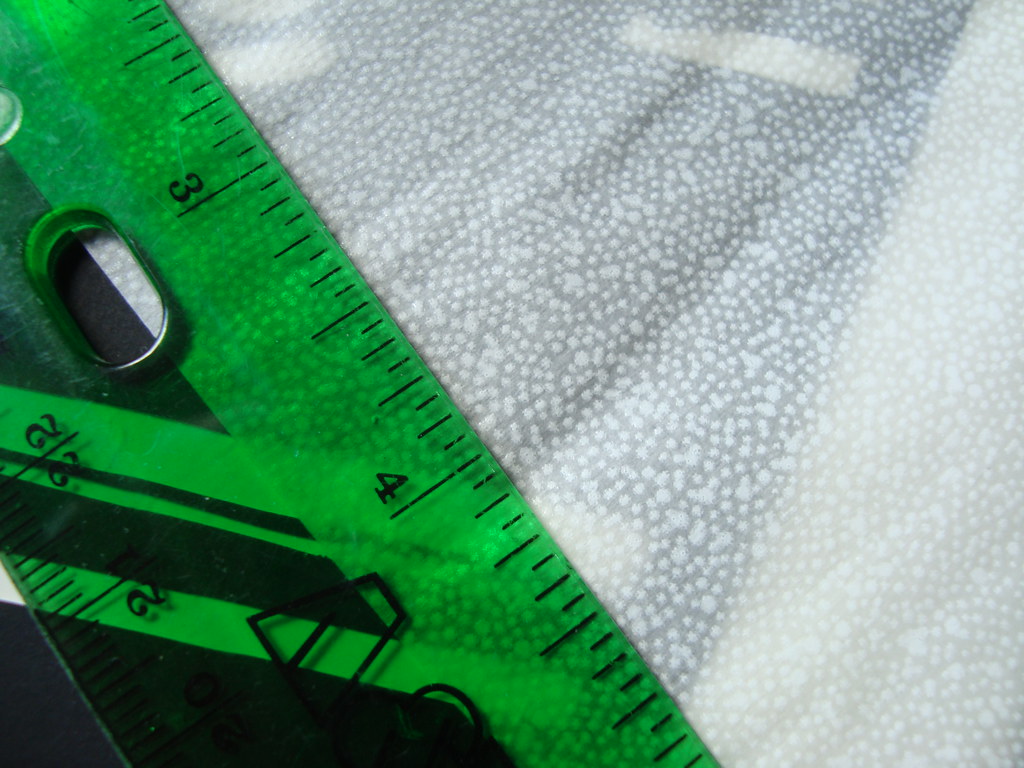
Each of those dots is a dot of adhesive, and yes, I accidentally covered the back of my ruler with studio tac taking this photo
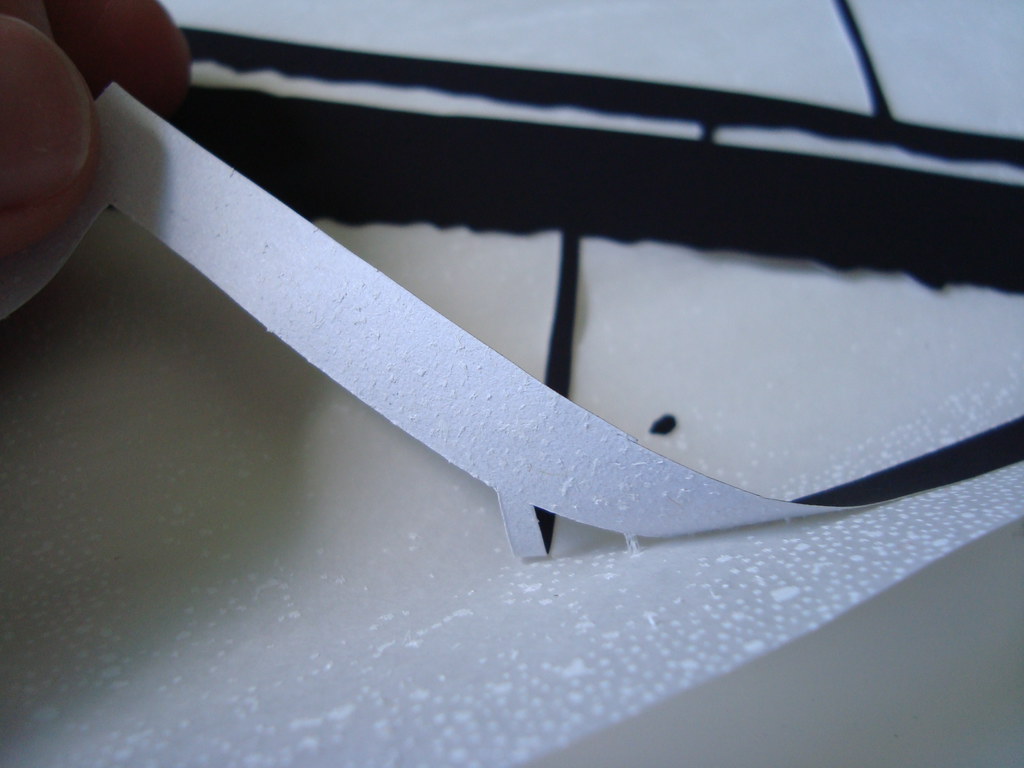
This shows me pulling one of my papercuts away from the adhesive. Note the fact that one side of the paper is white. I'll discuss that in my next post...


6 comments:
I've been trying to find a good adhesive for papercuts for a very long time -- this is a Godsend. Thank you for sharing!
Could post a video of peeling the pattern away from the papercut? Doesn't the finer lines tear?
Thank you for sharing this wonderful guide with us. It is really a big help. Tesa Adhessive Tapes
We’re taking a fresh approach to wallpaper and giving you the best choice of great design to help you create a space that is unique and personal to you. peel and stick wall
Thanks for sharing your useful post to us . We are very happy to read it.Amazing post.
Website Designer
Hi great rreading your blog
Post a Comment